
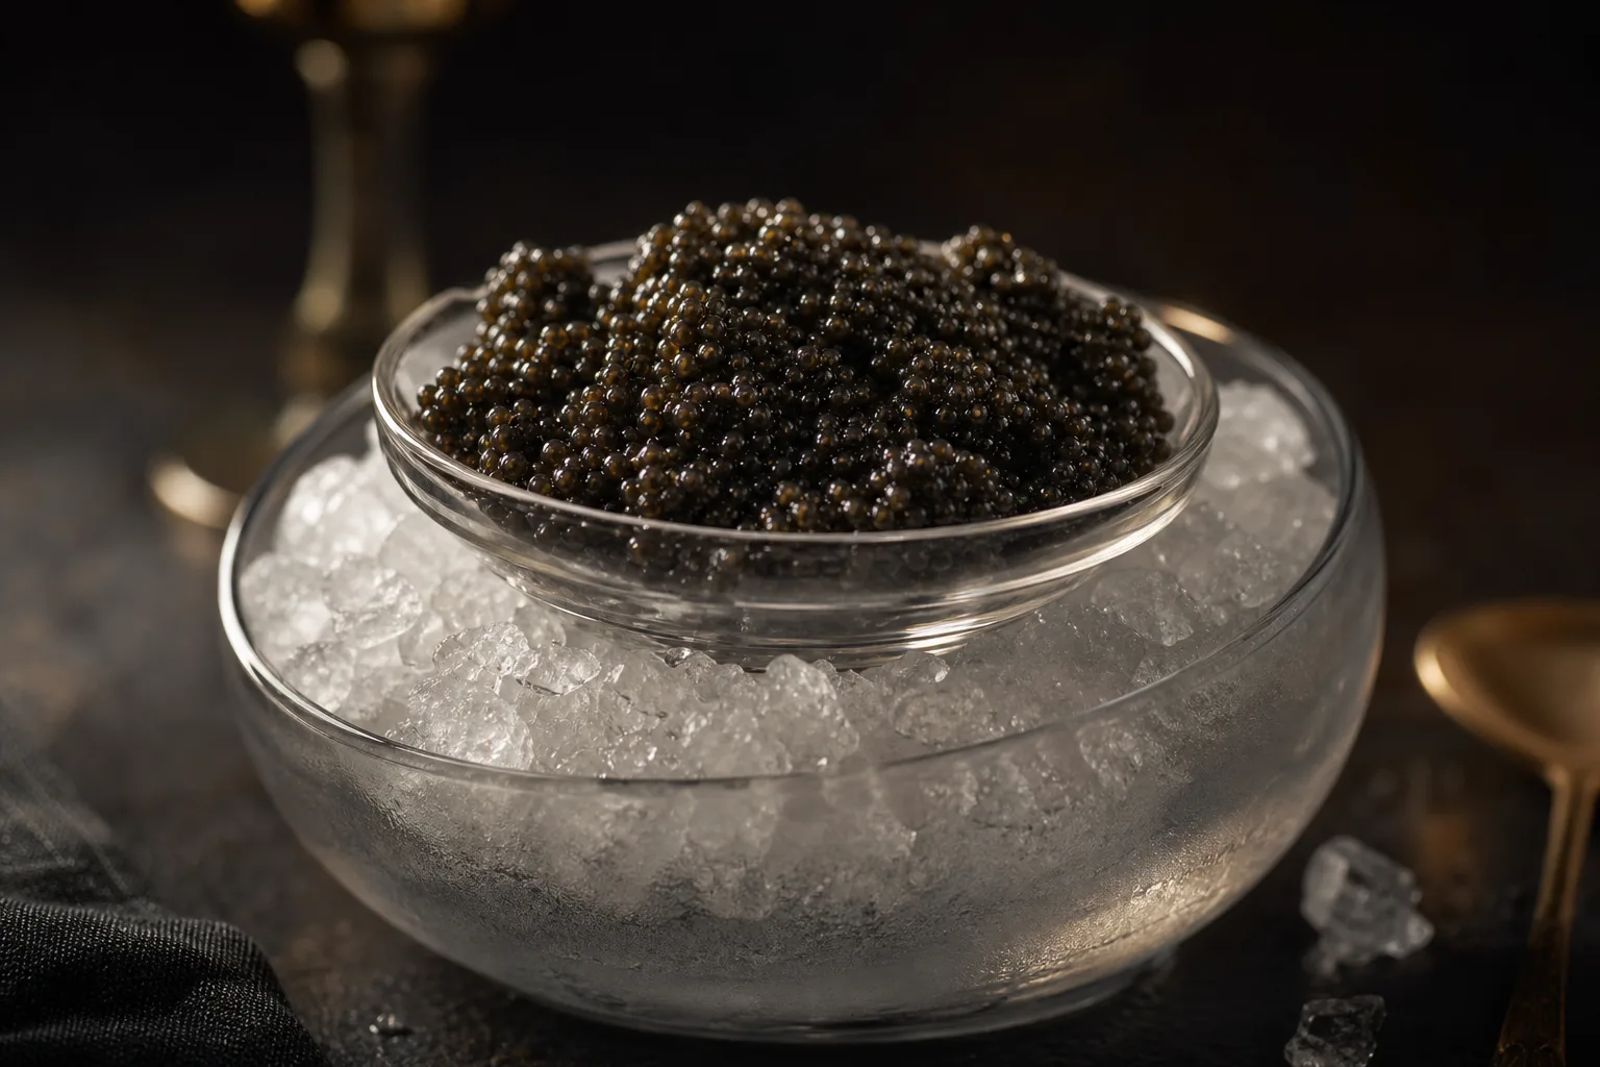
A warm lamp can change the apparent colour of caviar; a broad white reflection can hide the detail of its beads. A good photograph reveals the roe rather than reinventing it.
Start with soft side light, a neutral colour reference and careful focus. Build the set before opening the caviar, photograph only a small portion over ice, then return it promptly to refrigeration.
Plan the cold chain first
Make every lighting and framing decision with an empty dish. Keep the main supply refrigerated and record when the photographed portion comes out. The less time spent adjusting the set around exposed caviar, the better.
Storage and serving temperatures have different jobs. Petrossian's FAQ specifies 0 to 4°C (32 to 39°F) for storing its caviar; its tasting guidance recommends 8 to 9°C (46 to 48°F) for eating. That warmer range is not a photography holding temperature. Follow your product's storage instructions, rather than warming it for the camera.
For catering display in England, Wales and Northern Ireland, FSA guidance describes a single period of up to four hours outside chilled storage under specified conditions. That allowance is for catering display, not a photography target or general home handling allowance. In the US, USDA FSIS guidance gives a two hour limit in the danger zone, reduced to one hour when the ambient temperature exceeds 32.2°C (90°F). Follow the guidance for your setting and any stricter product instructions.
Read the full handling rules in safe serving and serving temperature and cold holding. Plan the shoot to preserve those allowances, not spend them.
How to photograph caviar, step by step
-
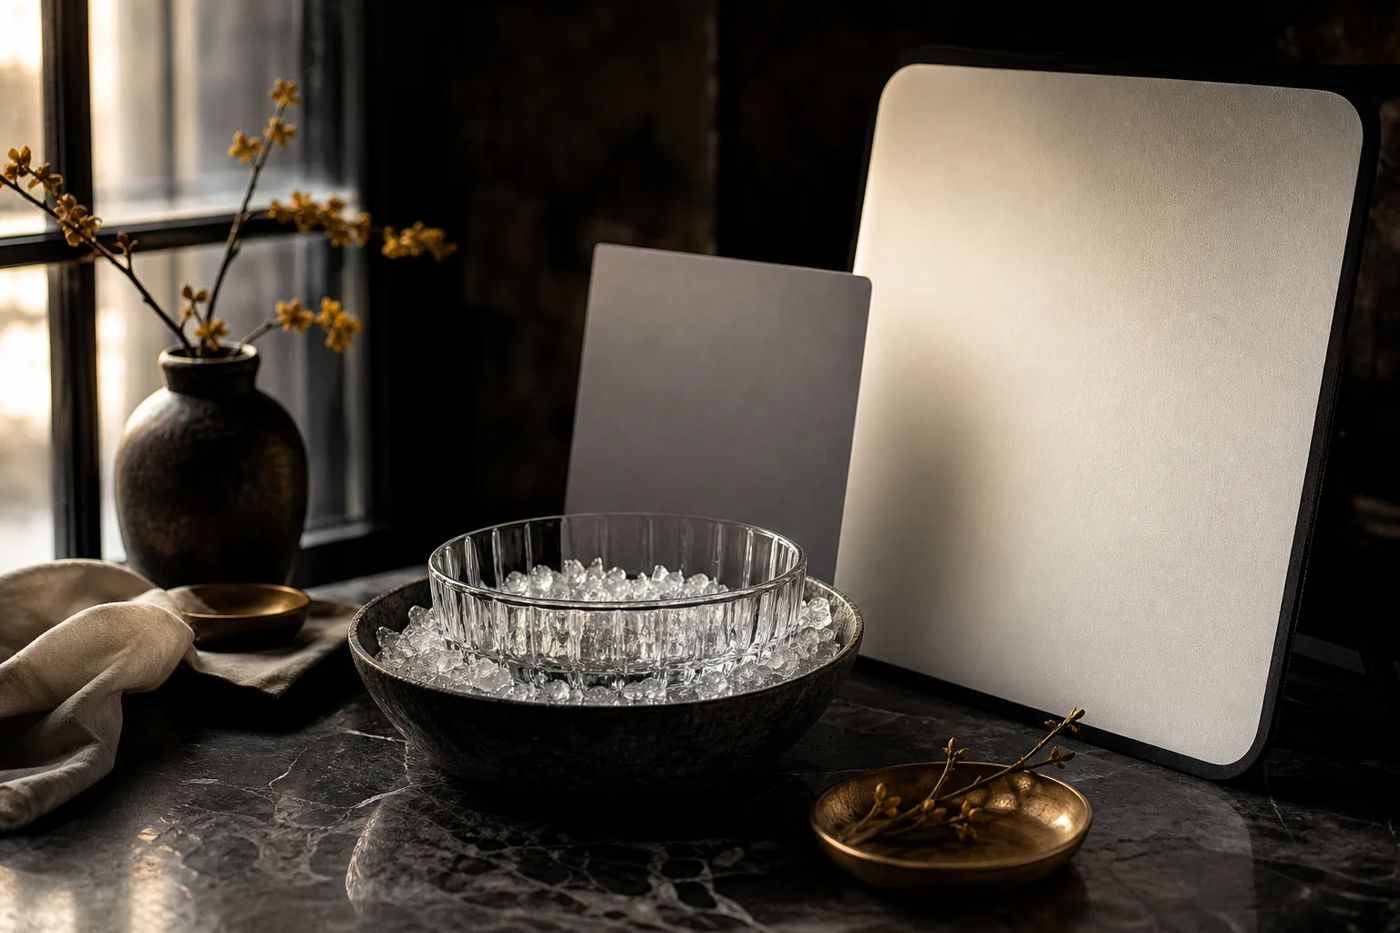
Prepare the set before the food. Beside a window, out of direct sun, arrange a plain white, grey or neutral dark background, a clean mother-of-pearl, wooden or glass spoon, and a small food-safe dish nested in crushed ice. Keep the roe clear of meltwater.
-
Shape the light around the beads. A diffuser between window and subject softens the light; a white card brought towards the shadow side restores detail if it disappears. Move the light or camera until each bead carries a small highlight rather than a broad white patch, leaving enough reflection to show the glossy surface.
-
Record a colour reference. Photograph a neutral grey card or colour chart at the dish's position, under the same light, then remove it. This gives you a reference for editing, or you can set custom white balance, which compensates for the light's colour. Switch off conflicting room lights.
-
Set focus before opening. A phone works for an overall serving photograph: clean the lens, tap the intended focus point and avoid digital zoom. For tight bead detail, use a camera with close-focusing capability or a macro lens. Whichever device you choose, support it and check sharpness at full magnification.
-
Bring out only what you need. Note the time, including any earlier time outside refrigeration. In the US, USDA FSIS guidance limits time in the danger zone above 4.4°C (40°F) to two hours, or one hour when the ambient temperature exceeds 32.2°C (90°F). Keep the shoot much shorter and follow stricter product instructions. Transfer the roe gently with the clean spoon, then leave the beads where they settle. No pressing, repeated rearranging, or added oil or water for shine. Keep fingers and photographic equipment away from the food.
-
Shoot, check, finish. Once you have the planned view, inspect bead edges and highlights, then stop rather than extending the session for minor variations. USDA FSIS recommends cold holding at or below 4.4°C (40°F). Ice supports cold holding, but does not establish the temperature of the caviar itself.
Choose servers and bowls for stability and easy cleaning as well as appearance. Keep the arrangement low and simple: fewer objects mean fewer adjustments while the caviar is exposed.
Bring more beads into focus
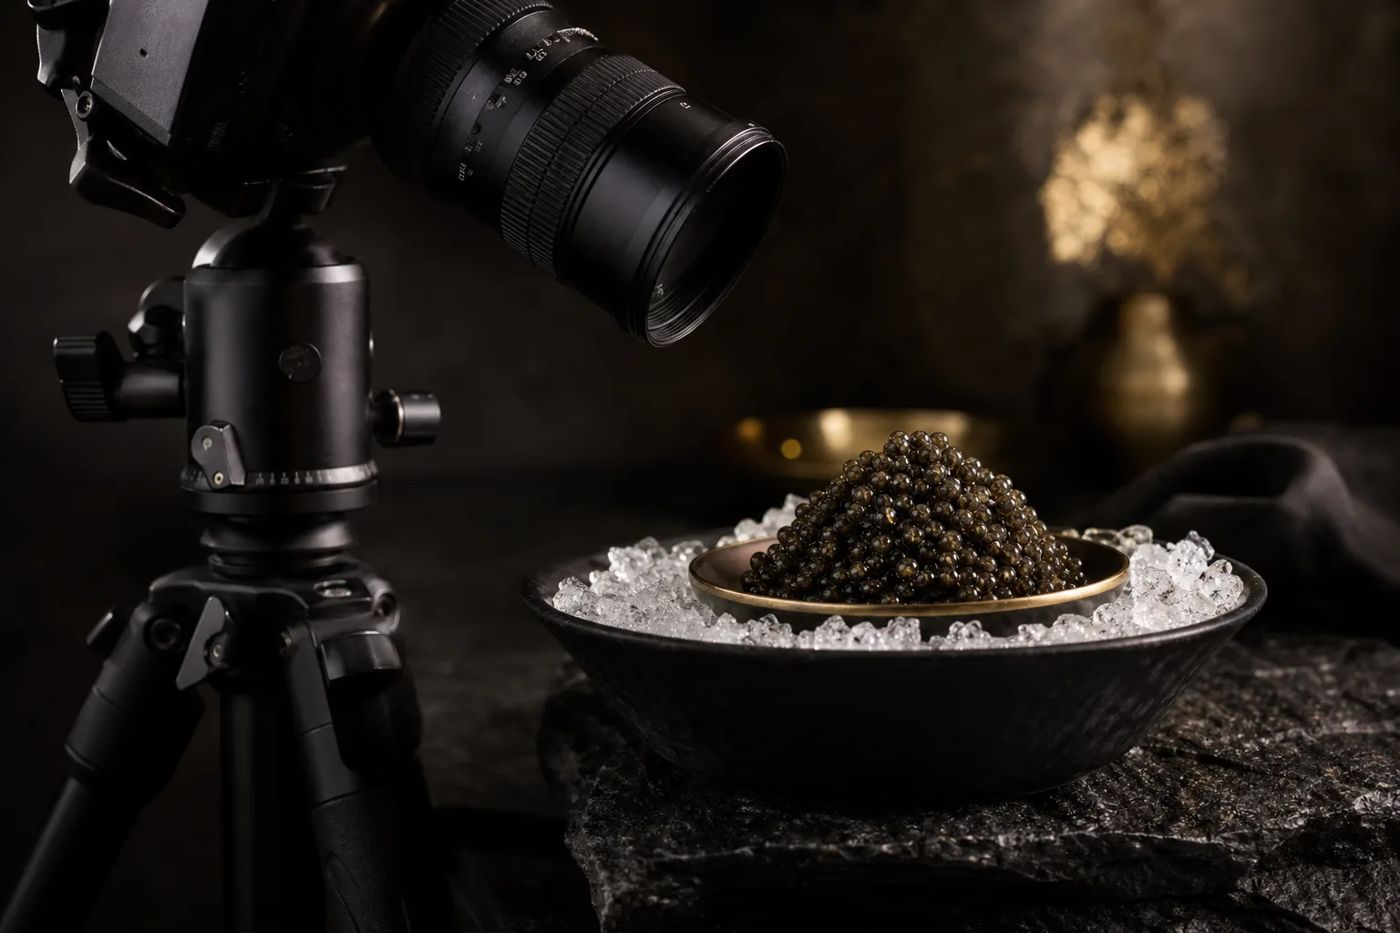
Macro photography makes focus selective. Its narrow zone of sharpness, called depth of field, may leave some beads crisp and others blurred. Decide which beads matter most, then use a smaller aperture if your camera allows it and the result remains sharp.
For a sharper image across several distances, focus stacking combines photographs taken at successive focus points. Keep the camera on a tripod, the subject still, and the exposure and lighting unchanged. Practise before bringing out the caviar. Inspect the combined image for doubled bead edges or false detail.
Fix the set, not the roe
| Problem | Likely cause | Fix |
|---|---|---|
| White glare hides bead detail | Direct or poorly positioned light | Enlarge the diffuser; change the light's angle. |
| Green or orange colour cast | Mixed light or coloured reflections | Use one light source; remove coloured props. |
| Beads look dull or dry | Prolonged exposure or repeated handling | End the session. Do not coat or spray them. |
| Condensation obscures the ice bowl | Moist room air meeting a cold surface | Wipe only the exterior with a clean cloth; keep meltwater away. |
Keep colour and captions honest
Dark, glossy beads reflect the world around them. A warm lamp, coloured plate or aggressive edit can shift their apparent colour. When a photograph accompanies a species claim or colour grade, that shift matters: the picture must not make the roe look like something else.
Correct white balance and exposure against the reference, and keep the original file. Do not selectively turn grey beads golden, deepen their colour, clone in larger beads or use generative tools to invent surface detail. Explain bead colour and firmness, rather than cosmetically correcting them.
Do not selectively turn grey beads golden, deepen their colour, clone in larger beads or use generative tools to invent surface detail.
Caption a real photograph with the documented species, or say it is unconfirmed. Appearance alone cannot identify species. Label generated images as generated editorial illustrations, without claiming that they document a species or product. Disclose focus stacking when the photograph serves as visual evidence.
Ask permission and plan what happens afterwards
Ask before taking photographs in a restaurant or on a farm, and check whether publication is permitted. Farms may restrict access or equipment for biosecurity. Either setting may restrict photography for privacy. Follow the host's instructions rather than assuming a camera is welcome.
After the shoot, eat a hygienically handled portion promptly or return it, covered, to refrigeration within the applicable limits and product instructions. Keep it separate from untouched caviar. Discard any food contaminated by props, cleaning products or uncertain handling.
If the handling history exceeds the applicable safety limits, discard the caviar. Refrigeration cannot undo unsafe handling, and neither a pleasant smell nor intact-looking beads establishes safety. Never taste it to decide whether the session lasted too long.
Explore caviar and the arts and caviar in art and advertising for more on images and their context. Keep the photograph's purpose clear: illustration, identification evidence or a record of a dish. Get the picture without losing sight of the food.
Sources
-
Food Standards Agency. Safer food, better business for caterers: Chilled storage and displaying chilled food. Current retrieved PDF, revision date not stated, checked 2026. Covers the single four-hour display exception, time recording, small batches and following colder manufacturer storage requirements.
-
US Department of Agriculture, Food Safety and Inspection Service. What is the Danger Zone?. Updated 6 September 2024. Gives cold holding at or below 4.4°C (40°F), the two-hour limit and the one-hour limit above 32.2°C (90°F).
-
US Food and Drug Administration. Are You Storing Food Safely?. Current web edition, checked 2026. Independently corroborates US time limits and explains why appearance, smell and taste cannot establish safety.
-
Petrossian. Frequently Asked Questions. Undated web edition, checked 2026. Company instructions specifying refrigerated storage at 0 to 4°C and consumption within 24 hours of opening.
-
Petrossian. At What Temperature Should Caviar Be Served?. Undated web edition, checked 2026. Company tasting recommendation of 8 to 9°C, not a safety holding standard.
-
Nikon, featuring Donna Crous. Create Your Light: Food Photography at Home. Undated web edition, checked 2026. Professional food-photography instruction on filtered window light, directional side lighting, reflectors and macro lenses.
-
Calibrite. ColorChecker Passport Photo 2 Guide. January 2023 edition. Manufacturer documentation explaining neutral references, white balance, exposure checks and camera colour profiling.
-
Nikon. Focus Shift, the Basics: Stacking Focus. Undated web edition, checked 2026. Technical guidance on successive focus positions, tripod support, aperture and consistent lighting and exposure.
-
Centre for Environment, Fisheries and Aquaculture Science. Biosecurity Measure Plans: Information and Templates. Updated 17 August 2023. Official guidance on approved visitors, restricted zones and equipment disinfection at aquaculture businesses.
This piece was researched using official food-safety guidance, attributed caviar-house instructions and primary photography and colour-management documentation; the workflow is an editorial adaptation, not a tested shoot.
Last checked: November 2026